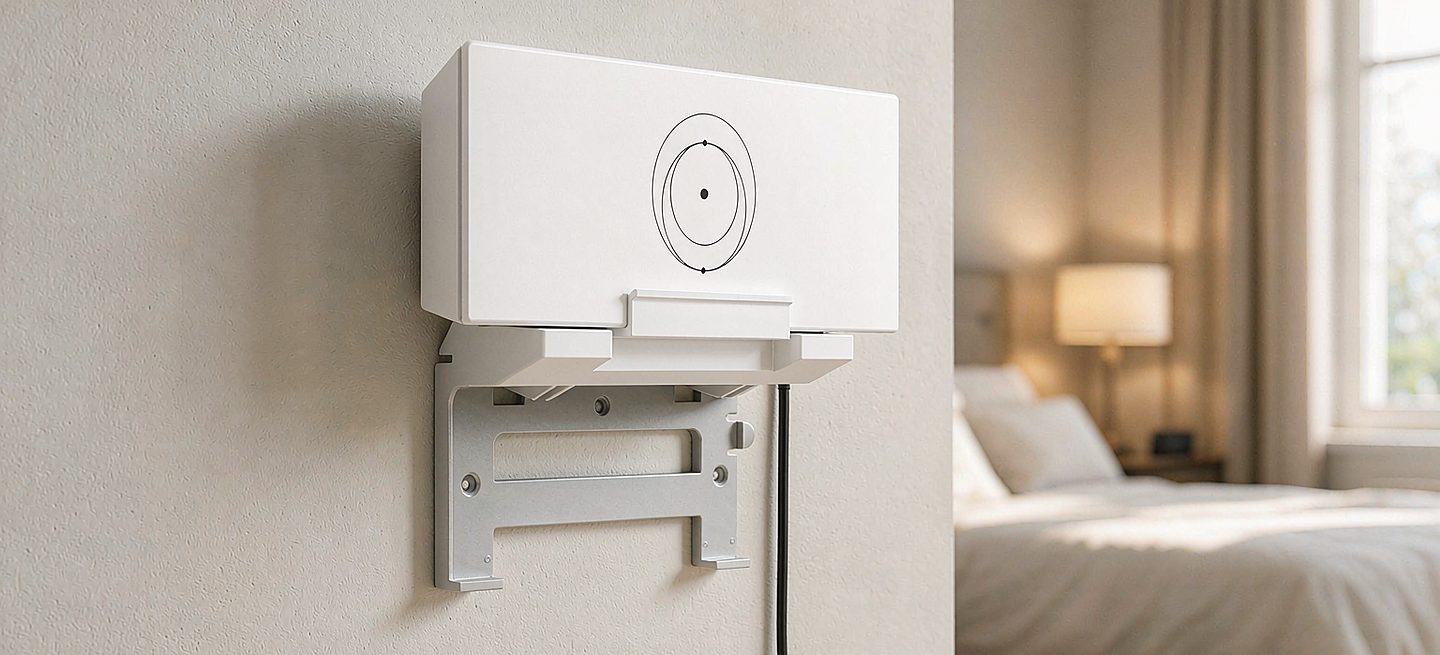
Short version: the dish rarely decides how good your Wi-Fi is — the router's position does. The Gen 3 router radiates outward and slightly down, so it wants to be off the floor, out of a cupboard, and roughly central to where you actually use the network. Wall-mounting it is the easiest way to get all three at once.
If you are still deciding where the dish goes, the roof install guide covers the outdoor half of the job.
Why the floor is the worst place for it
A router on the floor is fighting three things at once. It is at the lowest point in the room, so the signal has to travel through furniture and around the obstacles at ankle height. It is usually behind something — a sofa, a TV unit, a stack of boxes — and anything with metal or water in it attenuates Wi-Fi noticeably. And it is where the dust, the kicked cables and the pet hair live.
Lifting it to roughly waist or chest height fixes the first two at once. That is not a subtle gain: most "my Starlink Wi-Fi is patchy upstairs" complaints are a router that has been sitting behind a piece of furniture in a corner.
The three placement rules that matter
| Rule | Why it matters | What it looks like |
|---|---|---|
| Height | Signal spreads outward and down; floor level wastes the top half of the room | Waist height or above — a wall, a shelf, a bracket |
| Centrality | Wi-Fi loses strength over distance; the far end of the house gets the worst of it | As close to the middle of the living space as the cable allows |
| Clearance | Metal, water and masonry absorb signal; vents need airflow | Not in a cupboard, not behind a TV, not on top of an amp |
Out of the cupboard — but not into the boiler room
Putting the router in a metal cabinet or a utility cupboard to hide it is the single most common own-goal. The case becomes a shield and the vents have nowhere to breathe. The same goes for stacking it on top of a games console or an amplifier — those devices run hot and the router's own thermals get worse, which shows up as random dropouts after an hour of streaming.
If it has to be in a cupboard, it has to be a ventilated wooden one with the door open, and it still is not as good as a wall.
Where the dish cable actually comes in
One practical constraint sits above all of this: the router has to be where the dish cable arrives. That entry point was decided by the outdoor install, so it is worth checking the run before you commit to a spot indoors.
If the entry point is genuinely in the wrong place for coverage, the answer is not a longer dish cable — it is to keep the router at the entry point and extend the network from there. A mesh node nearer the middle of the house solves it, and the router stays where the cable is.
Why wall-mounting beats a shelf
A shelf works, but it collects everything else you put on it, and the router ends up wedged behind a photo frame within a month. A wall bracket does three things at once: it holds the router at a height where the signal works, it keeps the vents facing open air on all sides, and it gives the cables a fixed path down the wall instead of a tangle behind the furniture.
It is also the version that survives a move and a re-decorate, which a shelf arrangement generally does not.
One Gen 3 router only, or a mesh node too?
The Gen 3 router is fine on its own in a normal house. Add a node when the building is long or has a genuinely dense wall — a thick stone cottage, an old house with a chimney breast down the middle, or a separate annexe. Place the node about halfway between the router and the dead spot rather than inside the dead spot itself; putting it where the signal is already poor just relays a poor signal.
Mesh nodes have the same placement rules as the router: height, centrality, clearance. A node on the floor in a back bedroom is not much better than nothing.
Our line
The Router Wall Mount is made for the Gen 3 router specifically — it holds the case clear of the wall so the vents breathe, and it gives the cables somewhere to go. The dish mounts, by contrast, are for the dish: they carry the 1.5 inch thread, which the router does not have and does not need.
If you are buying both, they are sold as a bundle.
FAQ
Where should the Starlink Gen 3 router be placed?
Off the floor at roughly waist height, as close to the middle of the house as the dish cable allows, and out of enclosed cupboards so the vents have airflow.
Does router placement really affect Starlink Wi-Fi?
Yes — more than most people expect. A router on the floor behind furniture loses signal through obstacles at ankle height and wastes the upward spread of its antenna pattern.
Can I wall-mount the Starlink Gen 3 router?
Yes, and it is the tidiest way to get height, ventilation and a fixed cable path at the same time. The mount is made for the Gen 3 router case specifically.
Does the router use the same mount as the dish?
No. The dish mounts carry the 1.5 inch pipe thread; the router is an indoor device and uses its own wall bracket. They are separate parts by design.
Should I hide the router in a cupboard?
Not in a metal or unventilated one. The case shields the signal and the vents cannot breathe, which shows up as dropouts under load. A ventilated wall mounting is better.
Do I need a mesh node as well?
Only for a long house or one with dense internal walls. Place the node about halfway between the router and the weak spot, not inside the weak spot.
Router Wall Mount
Holds the Gen 3 router off the floor, vents clear and cables tidy.