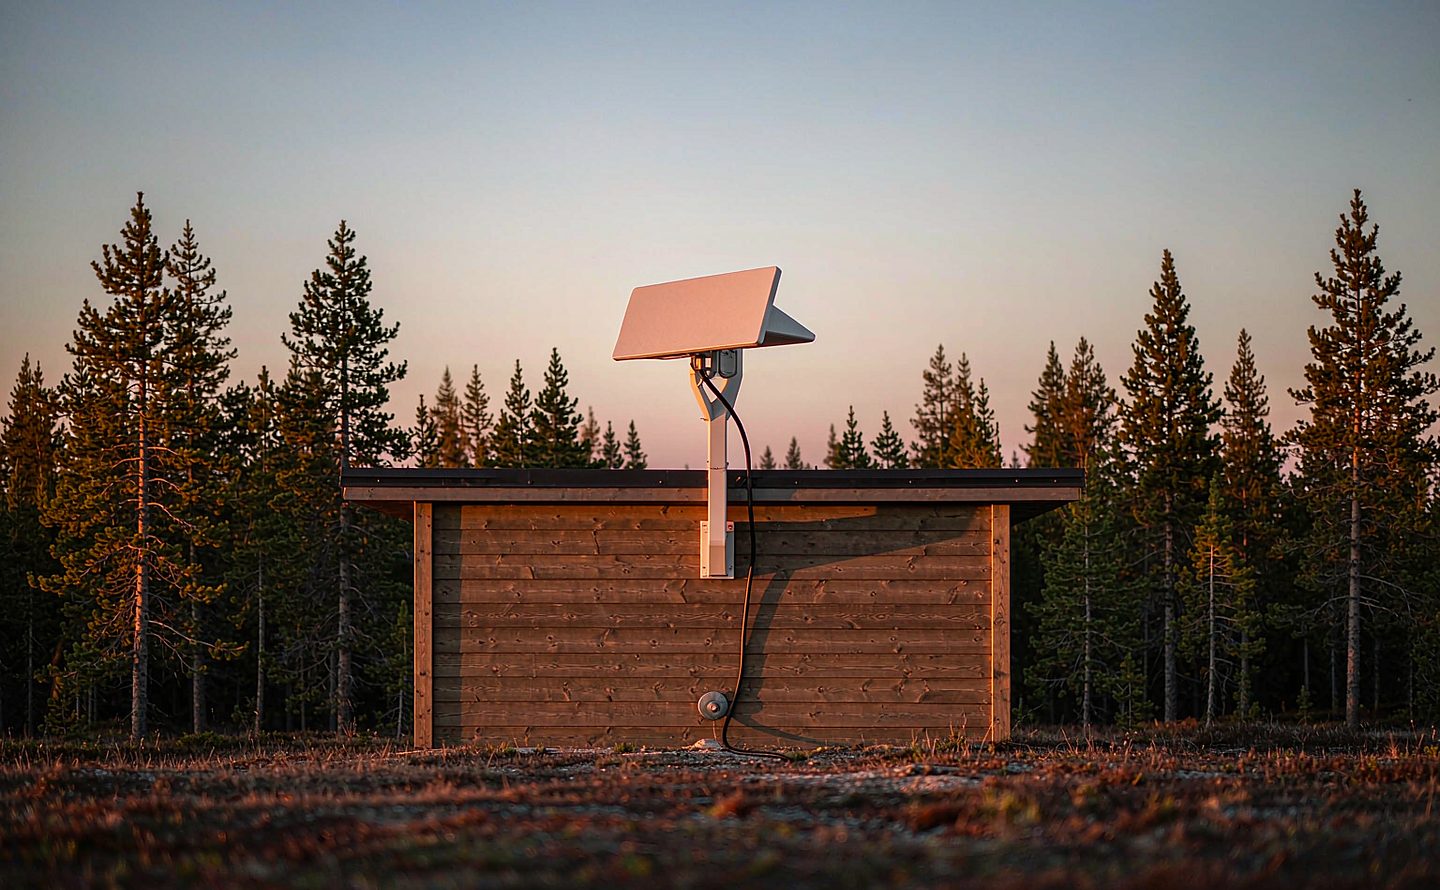
Short version: the Starlink cable is a fixed length with sealed connectors on both ends, so cable management is decided before anything is mounted. Plan the route first, put the entry hole where the cable can actually reach it, seal that one hole properly, and protect the cable from the four things that kill it: sharp bends, pinch points, sunlight and strain at the connector.
The mount gets all the attention, but the cable is the part that fails first. A mount that holds for twenty years means nothing if the cable was stapled through, routed past a door that pinches it, or brought into the building through a hole that leaks. This guide covers routing, the length problem and weatherproofing, in that order — and at a cabin, where the run is longer and the next hardware store is an hour away, the cabin guide applies the same rules to a harder site.
The cable is a fixed length — plan before you mount
The Standard dish ships with roughly 15 m of cable (the Mini's is shorter), and both ends are sealed proprietary connectors. That has two consequences. First, you cannot cut it to size or re-terminate it, so the route has to fit the cable, not the other way round. Second, every metre spent wandering over the roof is a metre you do not have inside the building — so measure the real route (up the bracket, along or down the structure, through the entry, across to the router) before you fix anything in place.
It also means the mount and the cable are one decision, not two. A dish placed high for a clear view can push the router out of the cable's reach, which is why position and routing are the same conversation — see how high the dish actually needs to be before committing to a spot.
The entry point is the whole job
Almost every cable failure starts where the cable enters the building. Water that runs along a cable finds the hole; a hole drilled level collects it. The fix is mechanical, and it is three parts:
| Part | What it does | What happens without it |
|---|---|---|
| Sealed gland or grommet | Closes the hole around the cable | A round hole around a round cable is never watertight on its own |
| Drip loop | Lets the cable dip below the entry so water drips off the bend | Water tracks along the cable straight into the wall |
| Downward-sloped hole | Points the bore slightly down toward outside | A level or upward bore pools water inside the wall |
One entry, sealed once, beats three entries sealed roughly. Every extra penetration is another place for water to get in and another place to inspect after the first storm. If the roof is the only way in, that is a job for the sealed entry methods covered in the roof install guide — but on most buildings a wall entry under the eave is easier to reach, easier to seal and easier to re-open if you ever need to.
Routing rules that prevent the failures
The cable is stiff, and it does not like being treated like lamp cord. Four rules cover most of it:
Keep bends gentle. A tight bend at a corner or a connector stresses the conductors and the seal. If the cable has to turn, give it a curve with a generous radius, and never kink it around an edge to save a few centimetres.
Never create a pinch point. Doors, windows, hatches and compression gaskets are the classic killers — the cable looks fine for months, then the door closes on it one more time and the link starts dropping. If a run must cross an opening, it goes through a sealed hole in the frame's fixed part, not through the opening itself.
Keep it off the ground and out of the sun where you can. UV slowly makes the outer jacket brittle, and a cable lying across a walkway eventually gets kicked, mowed or chewed. Along a wall or under an eave it is protected; across open ground it should be buried, clipped down or run through conduit.
Do not fasten it hard. Staples through the jacket, tight zip ties and clips that bite all create failure points. Loose clips that hold the cable without deforming it are the standard — snug, not compressed.
Excess cable: coil it loose or not at all
Leftover cable should not be wound into a tight coil and zip-tied into a neat doughnut. A tight coil is a kink factory, and a bundle of cable taped to a wall sags into exactly the loop that collects water. Leave the excess in long, gentle loops, clipped loosely, with the connectors — if there is any slack at them — supported so their weight is not hanging on the seal.
Extension cables: the honest answer
Because the connectors are proprietary, extension means an adapter cable, and an adapter cable means two more junctions in the weather. Some setups genuinely need the reach and accept that trade; most do not, because the fixed length was enough once the route was planned properly. If you are considering one because the dish "just barely" misses the router, re-measure the route first — routes are almost always shorter than they look once the dish is actually mounted.
Our line
Our mounts are built to make the cable run boring, which is the goal. The roof kit and wall bracket hold the dish off the surface so the cable drops straight down instead of dragging across shingles or cladding, and both take the dish's 1.5 inch pipe thread directly — no official adapter needed, see when you actually need one. Indoors, the router wall mount finishes the job by getting the router — and its cable ends — off the floor, which also matters more than people expect: see where the Gen 3 router should live.
What a good cable install looks like when it is done
The cable leaves the dish, follows the bracket or wall in one clean line, turns with gentle curves, enters the building once through a sealed, downward-sloped hole with a drip loop below it, and reaches the router with a little slack — not a coil of it. Nothing sags, nothing is pinched, nothing is compressed. It is not dramatic, and it should not be: a cable install you forget about is a cable install that was planned, not improvised.
FAQ
Can you extend a Starlink cable?
Not directly - the connectors are sealed and proprietary. Extension means an adapter cable, which adds junctions in the weather. Most installs do not need one once the route is planned, so re-measure the actual path before buying anything.
How should a Starlink cable enter the house?
Once, through a sealed gland or grommet in a hole bored slightly downward, with a drip loop below the entry so water runs off the bend instead of tracking along the cable into the wall.
Can I run the Starlink cable through a window or door?
Only as a temporary measure. Closing edges pinch the jacket and eventually break the link. If the run must cross an opening, put it through a sealed hole in the fixed part of the frame instead.
What damages a Starlink cable most?
Sharp bends, pinch points, UV on the outer jacket and strain hanging on the connectors. Loose clips, gentle curves and a supported entry point prevent all four.
Why does my Starlink cable keep disconnecting?
Usually strain or a pinch at one point rather than a fault with the dish. Check the connectors are fully seated and not carrying weight, then follow the route looking for kinks, door edges and staple damage.
Do I need special clips for the cable run?
No special hardware is required - what matters is that clips hold the cable without compressing the jacket. Snug clips every so along the run, loose coils for excess, and nothing that bites into the cable.
Router Wall Mount
Gets the Gen 3 router - and its cable ends - off the floor and out of the corner.