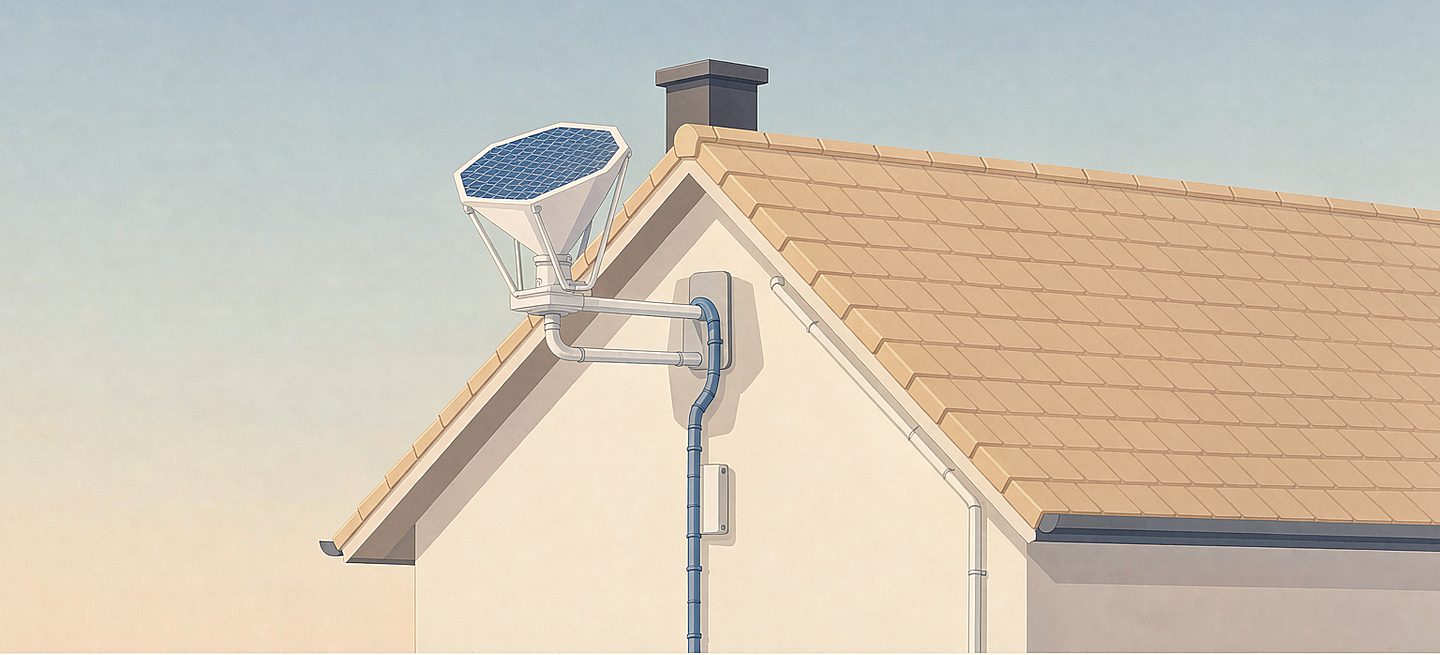
Short version: a roof mount is the highest, shortest-cable way to put a Starlink dish up, and it comes down to one penetration through the covering. That is the whole job — pick a clear spot, fix the bracket, seal the hole. The roof kit is built around a 1.5 inch pipe thread, so the dish screws straight on and there is no official adapter to buy. The part people get wrong is drilling before checking the view and the roof type, so do those two first.
Before any tool comes out, run the obstruction check at the real install height — a roof that looks clear from the ground can be blocked by a chimney or a tree line once the dish is up.
Step 1 — confirm the roof type will take a hole
Not every covering is a good candidate, and the wrong one turns a five-minute job into a leak. Metal, shingle and flat each behave differently: a standing-seam metal roof is often clamped rather than screwed; asphalt shingle takes a sealed lag bolt; a flat roof usually wants ballast or a different approach entirely, not a through-bolt. If your roof is flat or you are unsure, a wall bracket or tripod avoids the penetration completely.
| Covering | How the kit is fixed | Sealing |
|---|---|---|
| Asphalt shingle | Lag bolt into the deck | Flashing boot or sealant over the bolt |
| Standing-seam metal | Clamp to the seam where possible | Nothing to seal if clamped |
| Screw-through metal sheet | Sealed screw into the purlin | Sealant rated for the sheet |
| Flat / aged / unknown | Ballast — or a wall bracket or tripod instead | Avoid the penetration entirely |
Step 2 — pick the spot from the check, not the ladder
Place the bracket where the obstruction app says the view is clear, standing where the mast will actually sit. Keep it away from a valley or a ridge where water concentrates, and think about the cable path down to the entry point before you commit — a run across a roof plane is easier to seal than one that has to dip around an edge.
Step 3 — fix the bracket and screw the dish on
The kit's mast carries the 1.5 inch thread, so the dish's own thread meets it directly — no adapter in between. Use the supplied hardware for the covering type you confirmed in step 1, and make sure the bracket is pulled down to the deck, not just the surface layer. That thread is one shared standard across mounts — when a pipe adapter is and is not needed explains the buying side.
Step 4 — seal the one hole
This is the step that decides whether the install "wrecks the covering" or not. Use a proper roof sealant or flashing boot rated for the covering, and never rely on the bolt alone. A small bead that sheds water outward beats a thick lump that traps it. If you are not confident sealing a penetration, that is the one part worth having a roofer do — the rest of the job is straightforward.
Step 5 — route and secure the cable
Run the cable so it cannot flap or rub, and keep it off a hot surface. Where it crosses an edge, a short protective sleeve is cheaper than a chewed-through cable later. The cable management guide covers routing and weatherproofing in more detail.
When NOT to roof-mount
If you rent, a roof hole is rarely worth it — the renters guide walks through what each mount leaves behind at move-out. If the roof is flat, aged, or you simply do not want a penetration, the wall bracket gets height off the side of the house (wall mounting geometry explains what the wall has to take) and the tripod needs no fixing at all.
FAQ
Can I install Starlink on a metal roof?
Yes, usually — but a standing-seam metal roof is normally clamped rather than screwed through, and a screw-through sheet needs a sealed lag bolt and the right sealant. The roof kit's 1.5 inch thread takes the dish directly either way; the covering only changes how you fix and seal.
Will a roof mount leak?
Not if the single penetration is sealed with a covering-rated boot or flashing and the bolt is pulled to the deck. Leaks come from skipping the sealant or relying on the bolt alone — that is the one step worth doing carefully, or having a roofer do.
Do I need a professional to install it?
Most people can do the bracket, dish and cable themselves. The only part that genuinely benefits from a professional is sealing the roof penetration on a trickier covering; everything else is basic fixing.
Does the roof mount survive strong wind?
A roof-mounted dish sits low and is anchored to the structure, so it sees less lever arm than a tall mast. The wind concern is more about the cable and the seal than the dish itself — keep the cable secured and the seal intact.
Do I need the official Starlink pipe adapter for a roof mount?
No. The roof kit is built around a 1.5 inch pipe thread, so the dish screws on directly and no separate official adapter has to be bought.
Starlink Roof Mount Kit
The 1.5 inch pipe thread is built into the mount — screw the dish straight on, no official adapter to buy separately.