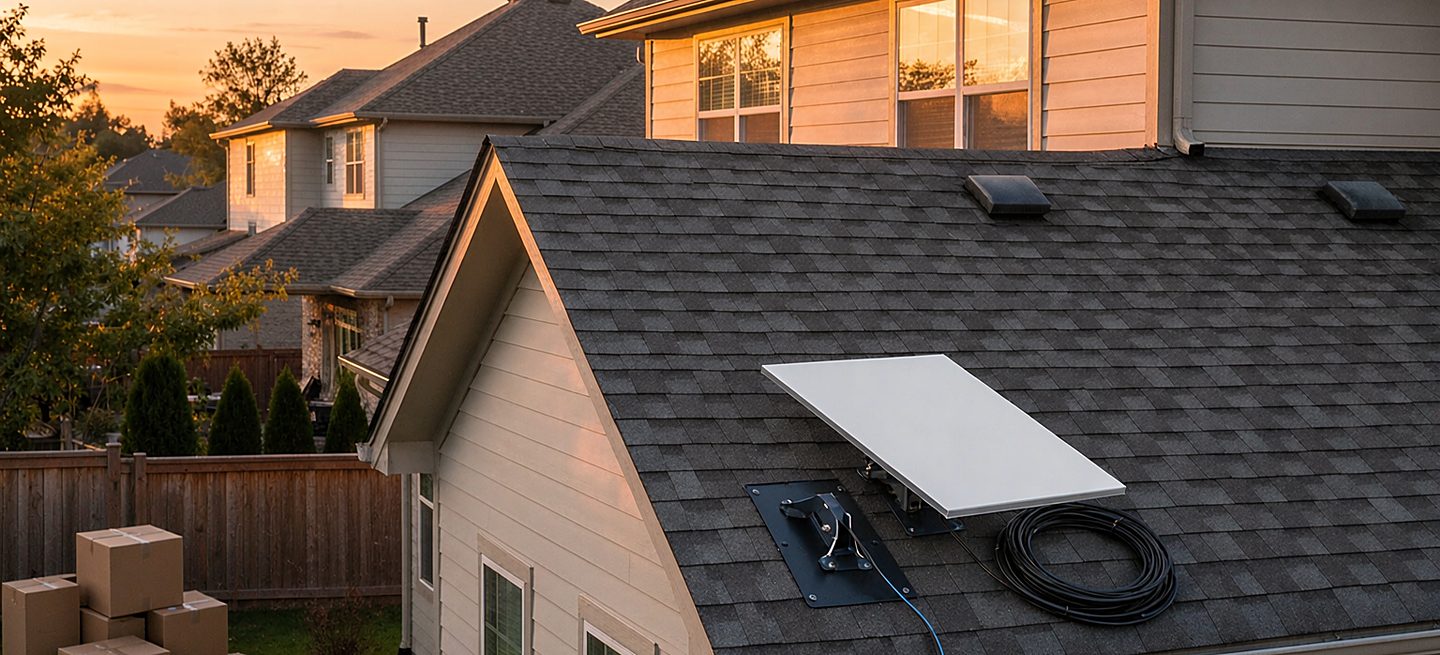
Short version: moving Starlink is three jobs, not one. Get the dish down without damaging it, get the mount off without damaging the roof, and decide — before either of those — whether the mount is coming with you at all. The first two are an afternoon with a ladder. The third is the one worth ten minutes of thought, because the wrong answer either costs you a working mount or costs you the roof.
The order that works: stow the dish from the app first, then power down, then the dish, then the mount, then seal every hole the same day. At the new address, run a fresh obstruction check before choosing a spot — the old position was picked for the old skyline, and the new one has trees you have never had to look at.
Stow it first — the step that gets skipped
The dish is not a picture frame. It is a motorized antenna with a parked position, and the Starlink app has a stow command that folds it flat and settles it for transport. Skipping that step and carrying the dish unfolded — or tilting it by hand to make it fit — is how motors and gears get damaged. The dish moves under power, never under your hands.
Stow, wait for it to finish moving and settle, then power down. The order matters: stowing is a powered movement, and pulling the plug mid-sweep is the other classic mistake. Both mistakes are quiet at the time and expensive later. If your dish is an older non-motorized model with no stow command, it travels as it sits — just support the face and never use it as a handle.
Taking the dish down
Work the disconnection backwards from how it was installed: power supply first, then the router end, then the cable at the dish. Hold the connector body, not the cable — pulling by the cable is how connector shells separate from pins, and a Starlink cable with a damaged connector is a replacement cable, not a repair.
The dish itself unscrews from the mount on its standard thread — the same 1.5 inch pipe thread every mount in this category uses, which is exactly why the aftermarket exists. If it has been up for years, expect the joint to be stiff: hold the mount, not the dish, and turn the dish rather than the mast. Set the dish face-up on something soft. The face is the product; a scratch across it is permanent.
Coil the cable in wide, relaxed loops — no tight wraps, no sharp 90-degree bends. If the cable is stapled along its run, pull the staples with pliers rather than cutting, and if the cable has to come out through a wall entry, feed it back the way it went in.
The holes outlast the mount
This is the part of a removal that gets rushed, and it is the part that matters most. Roof sealant is a one-time seal: the bead around a screw has aged, stretched, and started to lift the moment the screw came out. Leaving old sealant in the hole and walking away is not a patch — it is a leak with a schedule. Every penetration the mount made gets cleaned out and filled with fresh exterior-grade sealant the same day, because one overnight rain is enough for water to find the path you just opened.
If the holes went through into the roof cavity or attic, go inside and look at the ceiling below while you are still thinking about it. Removal day is the best leak inspection you will ever get on that part of the roof — the fastener holes are visible from above for exactly as long as the mount is off.
If the roof is under warranty, or the mount was installed with flashing, this is the moment to hand the finish to whoever did the original work or to a roofer. The mount is $59; a roof is not.
Take it, or buy new? The decision that actually saves money
The mount looks like the obvious thing to pack. Often it is not. A mount that has been through a roof has been through weather cycling, thermal movement, and at least one round of thread wear, and the new house may not even want the same type. Decide before the ladder comes out:
| Situation | Take the mount | Buy new (or different) |
|---|---|---|
| Same roof type at the new house, mount under ~3 years, no rust, threads still smooth | Yes | — |
| Roof type changes (asphalt to tile, metal, or flat) | — | Yes — the fixings and flashing are roof-specific |
| Mount has already been up and down more than twice | — | Yes — fasteners and threads have had their life |
| Rust at the fasteners, or threads that no longer turn smoothly | — | Yes — and check the dish thread too |
| Moving to a rental, or somewhere temporary | — | A tripod — nothing to seal, nothing to argue about |
| Leaving it on the house you are selling | Usually fine — see the FAQ below, and tell the buyer it is there | |
The honest version of our own advice: we would rather sell you one mount for the house you are moving into than watch you wrestle a tired one onto a different roof and blame the hardware when it leaks or loosens. If the old mount is healthy and the roof matches, taking it is the right call and we will say so.
At the new address
Three things change at a new house, and all three are things the old install cannot tell you.
The skyline is different. Run the app's obstruction check from the new property before drilling anything — trees, the neighbour's gable, a new chimney all move the answer. Our obstruction and height guide walks through reading the check, which takes ten minutes and saves the entire second install.
The service address changes with you. Update the service address in the Starlink account as part of the move. Service generally follows the account rather than the dish, but the address on file is what the account is provisioned against, and an out-of-date address is a self-inflicted outage on day one.
The cable may not reach. The factory cable has a fixed length and cannot be re-terminated — a cut or crushed section means a replacement cable, not a repair. Measure the new run before you commit to a position, and if the old cable comes out damaged in the removal, that is a known cost rather than a surprise. While the run is open, route it properly — the new house deserves the version with clips and drip loops, not the version stapled in a hurry.
When not to do this yourself
Removal is safer than installation — you are taking weight off, not putting it on — but it has the same honest limits. Do not DIY the removal if the roof is steep, wet, frosted, or high enough that a fall changes your year; if it is tile (walking on tile breaks tile, and the breakage is not always visible from above); or if the mount is anchored into rafters you cannot see the ends of. In those cases a roofer or the original installer is the right spend, and the dish-and-cable half of the job you can still do yourself from a ladder at the edge.
The wall-mount and tripod versions
Wall and eave brackets come down with the fasteners reversed, and the holes get the same treatment as roof holes: clean, fill, seal. If the bracket sat on wall studs with lag bolts, the anchor points are bigger but the principle is identical — fresh sealant, same day. Patch the interior side if the fixings penetrated through, and expect to touch up paint on the outside; a wall plate that has been on a wall for three years has a clean shadow around it.
Tripods are the easy case, which is most of why they exist: fold the legs, pull the stakes, bag the adapter, done. Nothing was penetrated, nothing needs sealing, and the whole thing goes in the truck as one piece. If you are mid-move and undecided, that asymmetry is worth remembering for the new house. For seasonal setups, the RV and winter guides cover the rhythm of taking a freestanding mount down for the off-season — the winter guide has the storm-takedown version.
If the dish coming down is an old satellite TV dish rather than a Starlink one, the question changes: the mast may be worth keeping. The old mast reuse guide covers whether that hardware can stay and carry the new dish.
FAQ
Do I have to stow the dish before moving it?
Yes, if the model has a stow command - it folds the dish into its transport position under power, which is the only safe way to move it. Carrying the dish unfolded, or tilting it by hand, risks the motors and gears. Stow, wait for the movement to finish and settle, then power down. Never pull the plug mid-sweep.
Do I need to reseal the roof holes after removing the mount?
Yes, the same day, with fresh exterior-grade sealant. Old sealant is a one-time seal - it has aged and lifted the moment the screw came out, and leaving it in place is a leak with a schedule. Clean out each hole, fill it with new sealant, and check the ceiling below for any water stains while the mount is still off.
Can I just leave the mount on the roof when I sell the house?
Usually you can, and in many places a screwed-to-the-structure mount counts as a fixture that conveys with the house anyway - but it depends on your purchase contract, so check it rather than assume. If you do leave it, tell the buyer in writing: a bracket nobody knows about becomes a leak nobody investigates. If you would rather take it, that is fine too, as long as the holes get sealed.
Will my Starlink work at the new address right away?
Generally yes - the service follows the account, not the dish. Update the service address in your Starlink account as part of the move, since the account is provisioned against the address on file, then run a fresh obstruction check before picking the new spot. The dish will re-acquire satellites on its own after power-up; expect it to take a few minutes to settle.
Can I reuse my third-party mount at the new house?
If the roof type matches, the mount is reasonably young, and the threads still turn smoothly, yes - that is the right call. If the roof type changes, the mount has been up and down more than twice, or the fasteners show rust, buy for the new roof instead. The decision table on this page runs through the cases; a tired mount on a different roof is the most common way a good install goes wrong the second time.
How do I remove a wall mount without wrecking the drywall?
Take the bracket off, then fill each fastener hole: a wood toothpick glued into the hole with the snap-off tip flush, then spackle over it, sand and touch up paint. For exterior walls, seal the holes on the outside face as well - the same one-time-seal rule as roof holes. Lag-bolt anchors into studs leave bigger holes but the same fill-and-seal finish.
Is it ever worth leaving the mount behind on purpose?
Yes - when the roof type changes, when the mount is on its second or third roof, or when the removal would mean walking tile you should not walk. In those cases the honest move is to sell or gift the mount locally, or leave it and disclose it, and buy the right hardware for the new house. A mount is $59; the roof, the ladder, and the second install are the expensive parts.
Roof Mount Kit
If the old mount is not earning its seat in the truck, the replacement takes the dish's 1.5 inch thread directly - no adapter to buy, and nothing left to guess about at the new house.