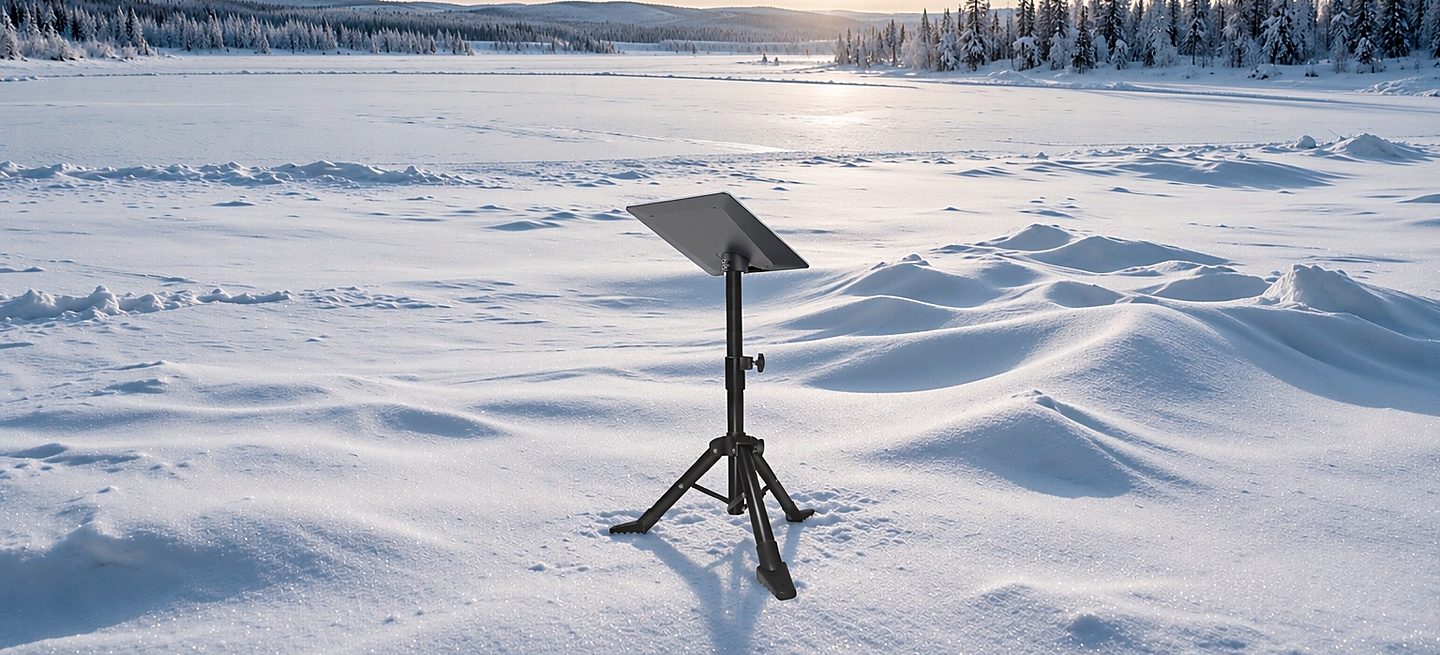
Short version: winter does not break Starlink. The dish is built for the cold and carries its own heating to shed snow — ordinary snowfall melts off the panel without you doing a thing. What winter changes is everything around the dish: the load snow puts on the mount, the height the panel needs above drifts, and whether you can still reach it when snowfall outruns the heater. Get those three right and the same roof, wall or tripod mount that works in July works in February.
If the install itself is happening in winter rather than before it, the hardware does not change but the method does — sealant cure temperatures, cold batteries and ice underfoot all get their own section below.
Does Starlink work in winter? The honest answer
Yes, and more smoothly than most people expect. Three facts settle the question:
Cold is not the dish's problem. Starlink's hardware is designed for outdoor winter conditions, and a clear, snow-free panel pointed at open sky performs the same in a cold snap as in mild weather. Temperature itself does not degrade the link.
The dish heats itself. The Starlink dish has built-in heating whose job is to melt snow landing on the panel — it is engineered for exactly the climate you are worried about. In ordinary snowfall the panel clears itself, usually as fast as the snow lands.
Winter outages are snow-cover outages, not cold outages. When a winter link drops, the cause is almost always snow or ice sitting on the panel faster than the heater can clear it, or a view that drifting snow has narrowed. The fix is position and access — and both of those are mount decisions, which is the part you control.
What winter actually does to a mount
Four loads hit a snow-country install that a mild-climate install never sees. Each one points at a different fix:
| Winter condition | What it does | What to do about it |
|---|---|---|
| Settled snow load | Adds weight to the bracket and the wall or roof behind it | Fix into structure, not covering; heavier gauge earns its keep here |
| Roof avalanche (slide-off) | Snow leaves the roof in sheets and can strike or load a mount in its path | Keep the dish out of the slide path, or move it to the wall |
| Freeze-thaw and ice | Works fasteners loose, loads guy wires with ice, stiffens the cable | Re-torque each season; grease the thread; keep slack at the dish end |
| Drifts and burial | Buries tripod feet, mast bases and low wall brackets | Set height above your expected snow line; clear the base early |
None of these is a reason not to install in snow country — together they are the design brief. The four mount types all survive winter; what changes is which one survives it on your particular building.
Choosing the mount for snow country
The four types, read through a winter lens:
Roof mount — highest, but mind the slide path. A roof kit at the ridge gives a snow-country install its best view and sits above the roof's slide path, because snow sheds downhill and there is nothing upslope of the ridge to land on it. A mount halfway down the slope is exactly where the whole roof's snow will come to rest — if the only workable spot is mid-slope, the roof type guide covers how each covering behaves when snow leaves it, and a wall bracket is often the calmer answer.
Wall bracket — often the winter answer. A wall mount under the eave is sheltered from the worst of the direct snowfall, keeps the cable run short, and puts the panel at brush height more often than a roof does. Two checks: the eave must not block the view the dish needs (wall versus eave covers which face actually sees the sky), and the sunny side of the building keeps the panel clearer for longer — in the northern hemisphere that is the south face, where the sun does some of the heater's work for it.
Tripod stand — footing and ballast. The freestanding tripod still works in winter and still moves, but snow changes two things: the feet sink into fresh snow, and frost heave can tilt the stand as the ground freezes under one leg. On snow, stand it on a plywood pad or frozen ground rather than fresh fall, add ballast, and accept that a tripod deep in a drift is a buried tripod — the height section below is really written for this case.
Mast — above the drift, but watch the guys. A mast puts the dish above everything, which in snow country is worth real money — but guy wires load with ice, and a buried base transfers the whole snow load into the pole. The pole and mast guide covers the structure; the winter additions are a base you can dig out and guys you can inspect from the ground.
Height in winter is the snow line, not the roofline
The obstruction maths still decides the minimum height, but snow adds a floor underneath it: the dish has to sit above the deepest drift your site actually gets, not above the ground on a clear day. Fence lines, eaves and the north side of buildings are where drifts build; a spot that is ankle-deep in snow in January can be knee-deep against the wall the bracket is on.
The second height question is the one people forget: brush access. If you cannot reach the panel with a soft brush from a ladder, every heavy snow that outruns the heater becomes a multi-day outage. Higher is better for the view and worse for access — the honest trade-off is to go as high as the obstruction check demands, and no higher, and to keep the ladder path clear and safe all winter. The cabin guide makes the same point for seasonal sites: the install you cannot maintain is the install that fails in year two.
Installing in winter: what changes
Nothing about the hardware changes; the method does. An autumn install beats a January one for five reasons that are all about the cold, not the mount:
Sealant needs temperature to cure. Most exterior sealants and flashing products have a minimum application and cure temperature printed on the tube, and it is often above freezing. Read the tube before the day depends on it — a bead applied in the cold can look fine and never cure.
Threads seize in winter. The dish's 1.5 inch thread and the bracket's fasteners are the joints you will want apart again. A smear of anti-seize or dielectric grease before assembly in autumn saves a two-spanner job on a frozen afternoon in February.
Batteries are weaker in the cold. A cordless drill that lasted a whole roof in September gives half of that in the cold. Charge fully, keep the spare battery inside your jacket, and plan the drilling for the warmest part of the day.
Ice underfoot is the real hazard. Not the cold — the ice. A ladder on frozen uneven ground, a metal roof with a melt-freeze crust, a drill on a wet ledge: if the surface is not trustworthy, the install will still be there tomorrow. The tools guide covers the standard safety rules; winter only sharpens them.
Daylight is short. Plan a winter install as a half-day job, and never start a roof climb you cannot finish in daylight. The installation cost guide works through when paying a professional who is already set up for the conditions is the cheaper option.
Snow on the dish: what actually works
In order, and the order matters:
1. Wait. The heater is designed for this. Ordinary snowfall clears itself, and a link that dips during a snow shower usually recovers on its own. Patience is the correct first response, not intervention.
2. Brush it, gently, from a ladder. When buildup is clearly outpacing the heater — heavy wet snow, or a layer the heater cannot get under — clear the panel with a soft-bristle broom or a roof rake with an extension handle, working from the top edge down. Never stand on the dish, and never lean the ladder against it.
3. Know what not to do. Do not pour hot water on the panel: it refreezes at the edges, and the temperature shock is a risk to a surface you cannot see. Do not chip ice off with a metal tool — dents and scratches on a phased-array panel are permanent. Do not use salt or de-icing chemicals: they corrode the bracket and the thread, and they do nothing for the view once the meltwater refreezes. And do not buy a "heated mount" — the dish already heats itself, and nothing you bolt under it improves on that.
If the panel cannot be reached at all, the outage lasts until the snow melts. That is a design failure, not bad luck — it is exactly what the brush-access trade-off above is for.
Cable, router and power in the cold
The mount carries the dish; the cable carries the link, and it is the part that notices the cold first. Three points:
Cable stiffens, so slack matters more. A cable pulled tight in mild weather has no give left when it contracts in the cold. Leave the service loop at the dish end and a drip loop at the entry — in winter that drip loop can freeze into an ice dam, so point it where melting water runs away from the wall, not into the entry. The cable management guide has the full routing method.
The router lives indoors, always. Consumer routers are not outdoor hardware, and winter makes the point for you. The router mount guide covers fixing it cleanly where the cable ends and the power is.
Power is the same arithmetic, with a winter edge. A small UPS in front of the router turns a storm flicker into a non-event; for longer outages the numbers are the same as any season — the off-grid power guide runs them.
The seasonal rhythm (what actually needs doing)
Autumn — the prep pass. While winterising the rest of the property, tighten the bracket fasteners, check the sealant bead at any penetration, clear the gutter above the dish, and put the ladder and the soft brush where you can reach them in the dark.
Mid-winter — the clearing pass. Brush the panel when buildup outruns the heater, and dig out the drift at the feet of a tripod or mast before the load matters. Ten minutes during a thaw beats an hour with a frozen base.
Spring — the recovery pass. Freeze-thaw works fasteners loose all winter, so re-torque everything and look for rust weep at the feet and the thread. Re-run the obstruction app too: snow on the ground changes nothing about the view, but a branch that came down in a storm does.
What not to do
Do not buy winter-specific hardware. No heated mounts, no "snow kits", no de-icing accessories. The dish heats itself; the mount's job is the same as in summer — hold position, resist load, stay sealed.
Do not mount low to keep the cable short. Snow makes the low spot worse, not better: drifts build against walls and fences, and a dish two metres inside a drift is an outage for the season. The cable is the cheap part.
Do not trust a sightline eyeballed in winter. Bare branches flatter the view. An obstruction check that is marginal in April is a blocked dish in July — the leafy season is the more honest one to judge by.
Do not work an icy roof to beat the weather. Every install rule that says "wait for a dry day" doubles in winter, because the failure mode is a fall, not a leak.
Our line, for snow country
Nothing in our line changes for winter, and that is the point — the same roof kit, wall bracket and tripod stand that hold the dish steady in July hold it steady in February, taking the dish's 1.5 inch thread directly with no adapter to buy and no proprietary winter accessory to chase. If your site is snow country, spend the thinking on position and access — which slide path to avoid, how high the drift gets, and where the ladder stands — and the mount you already chose is the right one.
FAQ
Does Starlink work in winter?
Yes. The dish is designed for cold and has built-in heating that melts snow off the panel. Winter outages come from snow or ice building up faster than the heater can clear it, or from a view that drifting snow has narrowed - not from the temperature itself.
Do I need a special winter mount for Starlink?
No. Any mount that holds position and resists load works in winter. What changes is placement: out of the roof's slide path, above the drift line, and reachable enough to brush the panel. Avoid heated mount products - the dish already heats itself.
How do I clear snow off my Starlink dish?
First wait - the built-in heater clears ordinary snowfall on its own. If buildup is clearly outpacing it, gently brush the panel from a ladder with a soft broom or roof rake, working from the top edge down. Never use hot water, metal ice chippers, salt, or lean a ladder on the dish.
Can I install a Starlink mount in winter?
Yes, on a dry and trustworthy day. Check the sealant's cure temperature on the tube, grease threads before assembly, keep batteries warm, and never work an icy roof or a ladder set on frozen uneven ground. If the surface is not safe, an autumn install beats a January one.
Will snow sliding off my roof damage the mount?
It can. Roofs shed snow in sheets, and a mount in the slide path takes that load or the strike. Mount at the ridge where possible, avoid mid-slope positions, or move the install to the wall - metal roofs are the heaviest shedders.
How high should a Starlink dish be in snow country?
Higher than the obstruction check alone says: clear your deepest drift as well as the trees, and keep the panel reachable with a brush from a ladder. If you cannot reach it, every heavy snow becomes a multi-day outage.
Roof Mount Kit
The snow-country permanent install: takes the dish's 1.5 inch thread directly, and holds position through the loads winter actually brings.