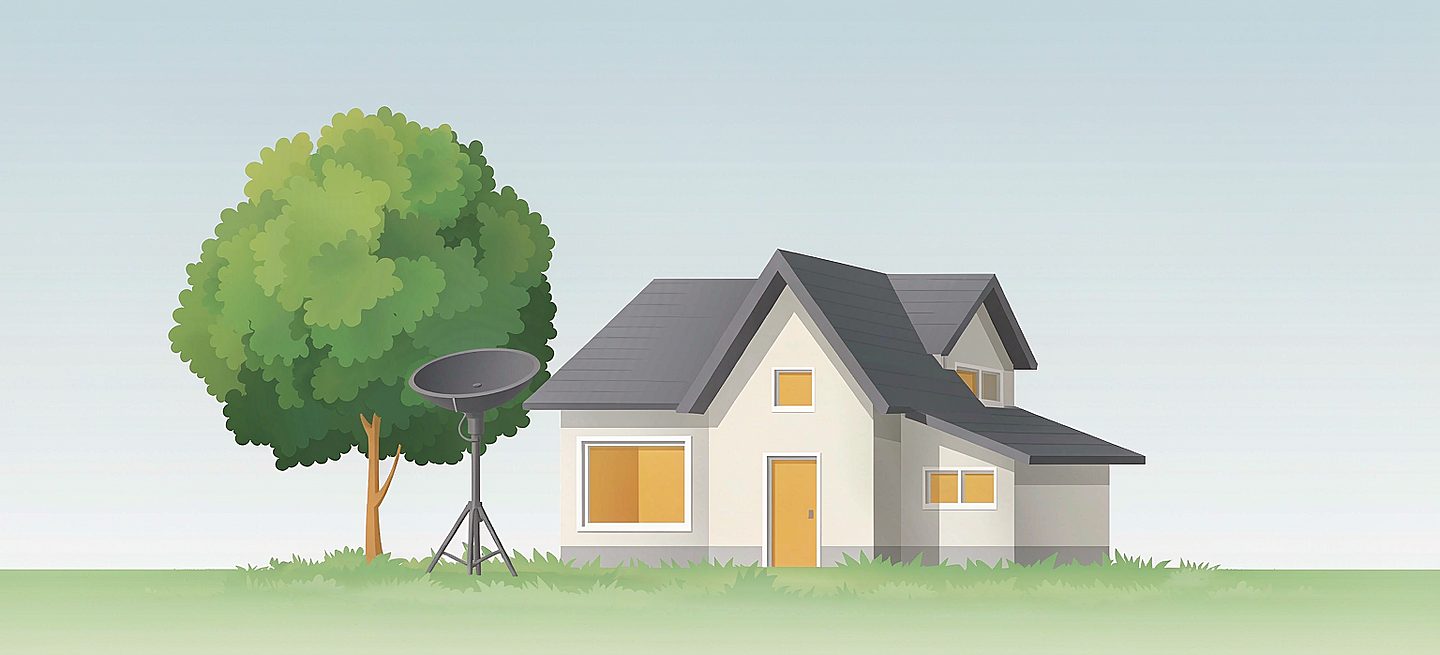
Short version: there is no single "best" Starlink mount — there is the one that fits where you are allowed to put a hole and what your roof or wall will tolerate. The field breaks into four types: a low-profile roof mount, a wall and eave bracket, a freestanding tripod stand, and a mast or pole you supply yourself. Three of those four take the dish's own 1.5 inch pipe thread directly, so you do not buy a separate official adapter — and that single fact settles most "will this work?" questions before they start.
If you have not measured the view yet, the obstruction maths is the thing to read first, because the mount only matters once you know which direction is actually clear.
The four types, and the site each one is built for
| Type | Best when | Costs you | Take it with you? |
|---|---|---|---|
| Roof mount | You own the roof and want the highest, shortest-cable install | One hole through the covering (sealed) | No — it stays on the roof |
| Wall / eave bracket | You would rather not touch the roof at all | Fixing to a wall or soffit | No |
| Tripod stand | Renting, camping, or a yard with a clear view | Floor space and a longer cable run | Yes — it packs down and moves |
| Mast / pole | You need extra height on top of any of the above | A mast you source + guying | Usually no |
Roof mount — highest, shortest run, one hole
The roof kit puts the dish as high as it will go with the least cable in the air, which is why it is the default for a permanent home install. The trade is a single penetration through the roof covering — but the kit is built around a 1.5 inch pipe thread, so the dish's own thread screws straight in and there is no official adapter to buy. What each roof covering tolerates is the article that decides whether your specific roof is a candidate at all.
Wall and eave bracket — leave the roof alone
If the roof is off-limits (lease, age, or just preference), the wall bracket gets the dish up the side of the house instead. It is usually easier to fix than a roof penetration and it leaves the covering intact — wall versus eave covers which face of the building actually gets a clear view, because that decides more than the bracket does.
Tripod stand — the one you can take with you
The freestanding stand is the only type that is genuinely portable: no fixing, no hole, and the adapter is in the box. That makes it the answer for renters, campsites and anyone who wants to walk the dish around the yard until the obstruction check clears — which is exactly why it is the backbone of an RV setup. The cost is floor space and a longer cable.
Mast or pole — height on top of any of the above
A mast is not really a competitor to the three above; it is the thing you add when you need more height than a wall or roof naturally gives. You supply the pole; any of the mounts accept it through the same 1.5 inch thread — which is also why an adapter is usually not a separate purchase. The height maths is the place to work out whether the extra metres are worth the wind load and cable.
The fact that settles most buying questions
The Starlink Standard dish (Gen 3 / V3 / Standard 4) and the Mini share the same 1.5 inch pipe thread. So one set of mounts fits both — but the Standard is roughly four times heavier, and that weight is what decides whether a lightweight bracket will hold. The roof kit, the wall bracket and the tripod all take that thread directly, so none of them needs the official pipe adapter bought separately; the tripod ships with its adapter in the box. When a listing talks about an "adapter required," check the thread first.
How to choose in two minutes
Ask three questions, in order: (1) am I allowed to make a hole, and will the surface take one? (2) is the view clear from that spot, or do I need height or a move? (3) do I need to take it with me? The full buying guide turns those three into a decision tree, and the mounts collection gathers every option in one place.
FAQ
Which Starlink mount is best?
None is best in general — the right one fits where you can put a fixing and what your surface tolerates. A roof kit gives the highest, shortest run; a wall bracket leaves the roof alone; a tripod is the only portable option; a mast adds height on top of any of them.
Do I need a different mount for Gen 3 vs Mini?
No. The Standard dish (Gen 3 / V3 / Standard 4) and the Mini share the same 1.5 inch pipe thread, so the same mounts fit both. The one difference is weight: the Standard is roughly four times heavier, which is what decides whether a lighter bracket will hold it.
Do these mounts need the official Starlink pipe adapter?
No. The roof kit, the wall bracket and the tripod all accept the dish's 1.5 inch thread directly, so no separate official adapter has to be bought. The tripod ships with its adapter in the box.
Which Starlink mount is best for renters?
The freestanding tripod stand — it needs no hole and no fixing and packs down to move at the end of the lease. If a wall is available and the lease allows it, a wall bracket is a permanent-feeling alternative that still leaves the roof untouched.
Can I move the mount later?
The tripod moves freely. The roof kit and wall bracket are fixed installs: they can be removed, but they leave a sealed hole or fixing points behind. If you expect to move, choose the tripod or plan the fixed mounts as permanent.
Starlink Mounts
Roof kit, wall bracket and tripod stand — all take the dish's thread directly, no official adapter to buy separately.