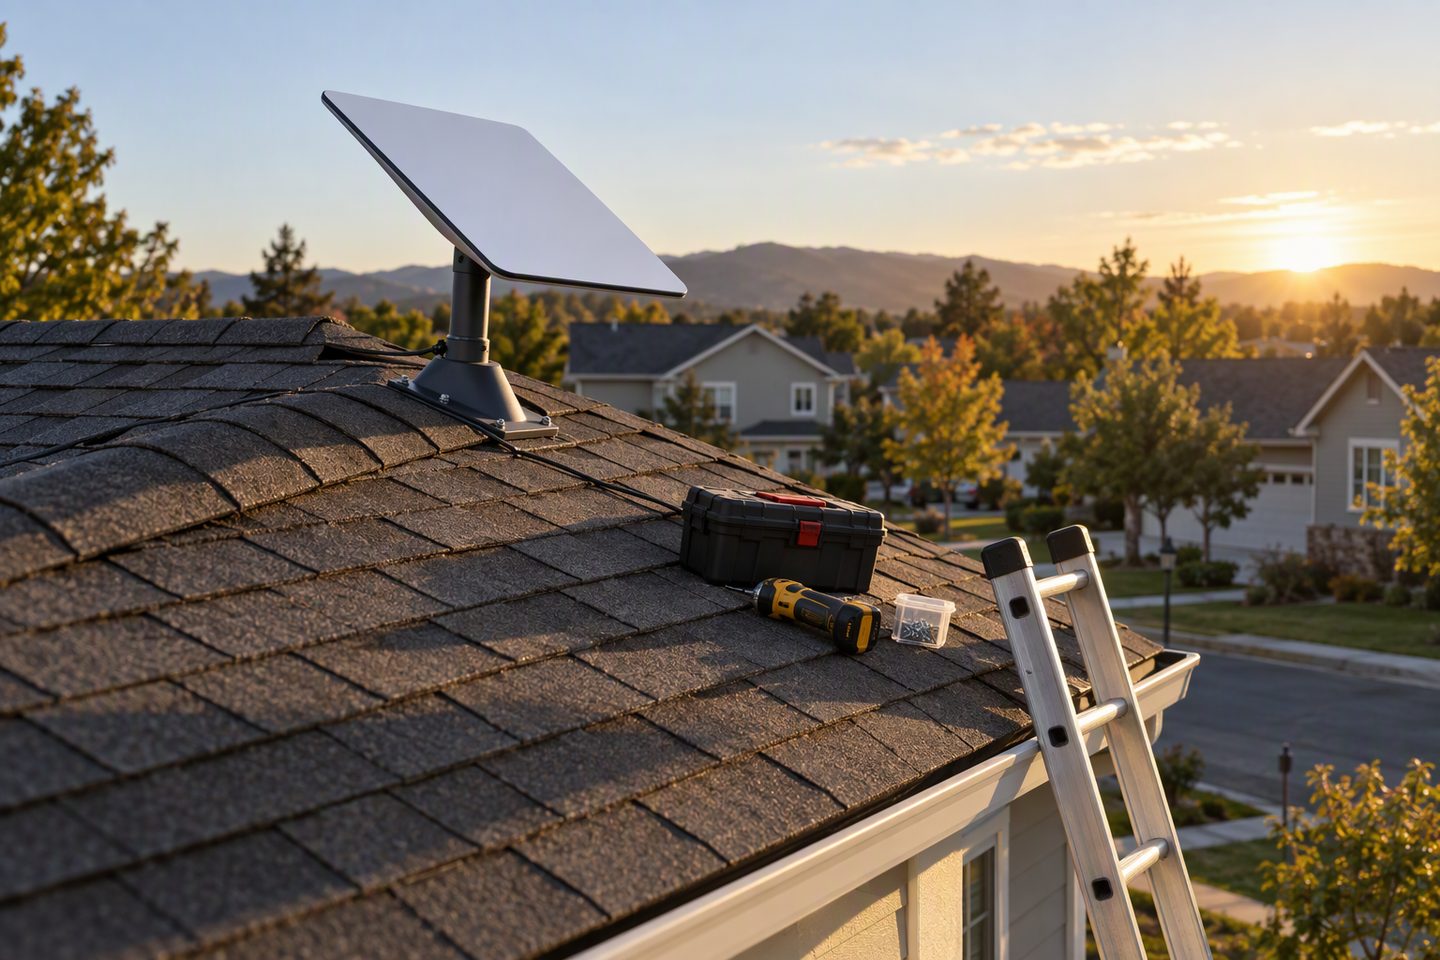
Short version: a DIY Starlink mount install costs $0 in labour and $0–$40 in tools most people already own, and a paid install runs $150–$300 in 2026. The crossover is not skill — it is the surface: ground and single-storey eave work is a Saturday, two-storey and slate or steep-pitch work is a paid job. The four scenarios that flip the answer are roof height, roof material, sealing complexity, and how the cable has to run.
The dish itself is light and the pipe thread is standard, so the install is mostly about what you are fixing it to. Get the surface decision right and the rest is two screws and a sealed entry. Get it wrong and the job is either overpaid for, or under-scoped, and you find out which on the first storm or the first ladder lean. This guide breaks down both sides, then names the four cases where paying is the cheaper option.
The honest cost breakdown for 2026
The two columns below are the only ones that matter. Everything else is the same on both sides: same dish, same cable, same mount, same view of the sky. The difference is whose time you are spending and whose back is on the ladder.
| Cost | DIY | Paid install (third-party) |
|---|---|---|
| Mount | Same (buy direct, $40–$120) | Same, often $30–$80 more if installer supplies |
| Tools | $0–$40 (most households own a drill, level, ladder, socket set) | Included in labour |
| Sealant, screws, grommets | $10–$25 at any hardware store | Included in labour |
| Labour | 2–4 hours of your time | $150–$300 (residential, single mount, ground or roof) |
| Risk | Roof damage or bad sealing if rushed | Warranty on the workmanship, typically 1–2 years |
| Total | $50–$185 + your time | $200–$500 all-in |
The paid number is wide because it tracks what the surface costs to fix to, not what the mount costs. A tripod on flat ground is a 30-minute call in many markets; the same dish on a two-storey slate roof with a 15 m cable run is the full $300 and possibly more. Get the quote to specify the mount and the cable route, and get it to exclude any 'custom fabrication' line, because that is usually code for a bracket the installer just bought at retail.
When DIY is the right call
Three conditions make the DIY answer obvious.
You can reach the mount point from a 6–8 ft ladder without standing on a roof. Eave work on a single storey, a low garage eave, an exterior wall with a clear stud, a tripod on flat ground, and a balcony railing all qualify. If you do not have to put weight on the roof surface, the safety and skill barrier collapses to 'own a drill and a level'.
The surface is forgiving. Wood siding, vinyl, brick and stucco all take a drill and a screw without special bits or sealants beyond a tube of exterior-grade silicone. Shingle roofs at single-storey height are also DIY-friendly if you seal the fixings with proper roofing sealant and use a mount that does not require lifting shingles.
The cable run is short and obvious. Mount within 5 m of the entry point, route the cable down the wall or along the eave in a single line, and the cable job is a 20-minute clip-and-seal. If the run has to go through an attic, around an HVAC line, or under a deck, the cable work starts to dominate and the time saving from paying goes up.
For all three, the mount selection guide walks through which type of mount fits each surface, and the tools checklist confirms what is already in the drawer before anything is bought.
When paying is the right call
Four scenarios flip the answer firmly to 'hire it'. In each one, the failure mode is bad enough that the labour saving is not worth the risk.
Two storeys or higher, and the mount point is on the roof. Standing on a roof you do not own, on a pitch you cannot judge from the ground, with a drill in one hand and a dish in the other, is how most install injuries and warranty-voiding leaks happen. A paid installer brings fall protection and the muscle memory to use it. The cost difference of $200–$300 versus an ER visit or a roof repair is not even close.
Slate, tile, or metal seam roofs that need a custom flashing. A slate or tile roof is not a place to drill a hole and hope. The fixings need proper slate hooks or tile replacement flashing, and the penetrations need to be sealed in a way that survives a freeze-thaw cycle. If the installer is quoting for a 'custom flashing' line, that is the bill doing exactly what it should: charging for the surface, not the dish.
Cable runs that penetrate two or more building elements. Through the eave, down through the attic, around the HVAC, and out at a distant interior wall is a four-step cable route, and every step is a place to pinch, kink, or forget a drip loop. Paying an installer to do it once and warrantying the result is cheaper than a re-pull if a junction fails behind drywall in two years.
Local code or HOA rules that require a permitted installer. Some jurisdictions, HOAs, and insurance policies require a licensed contractor for roof work, electrical bonding, or any penetration of a fire-rated assembly. The cost of not checking is a denied claim or a forced re-do, not a saved $200.
The mistakes that cost the most, on both sides
Most of what goes wrong on a Starlink mount install is not the mount, the cable, or the dish. It is the surface.
- Skipping the sealed entry to save an hour. The hour saved at install becomes a drywall repair and a mould inspection two years later. A sealed gland, a drip loop, and a downward-sloped hole take 15 minutes and prevent every leak in this guide.
- Buying the cheapest mount because the install is the expensive bit. A $40 mount on a $300 install does not save anything; it just means the next $300 install happens a year sooner. The mount is the part that holds for twenty years, so spend the difference between the budget mount and the well-built one — it is the only line item that compounds.
- Trusting a paid quote that does not name the mount. 'We will supply and install' is code for 'we will use whatever we have in the van'. Spec the mount before the installer arrives, or the labour quote is for a fixture you did not pick.
- Mounting too low because the cable barely reaches. A dish at 1.5 m with a clear sky outperforms a dish at 4 m with a tree in the way, but a dish at 1.5 m with a fence in the way is a paid reinstall waiting to happen. Plan the height first; the cable length is fixed.
- Walking on a wet or mossy roof without checking. A 30-second visual check from the ladder saves the kind of fall that ends the conversation about cost for good.
Our line
The cost of the mount is the easy number; the cost of the install is the one that depends on the building. We publish every mount spec with its surface so the choice is not made in the dark, and the best mount for each situation roundup pairs each surface with the mount type that holds. For the four 'hire it' cases above, the roof install walkthrough and wall mount guide are the documents to hand the installer, because the right mount turns a paid quote into a half-day job instead of a full day.
The one decision that decides the answer
Stand where the mount will go, look down, and ask whether you can do that work safely with a drill in one hand. If yes, the install is a Saturday and the bill is the mount. If no, the install is a paid job and the bill is $200–$500. Everything else in this guide is just helping you make that single call with eyes open.
FAQ
How much does it cost to have Starlink installed professionally?
Most residential Starlink mount installs in 2026 run between $150 and $300 from a third-party installer, on top of the dish and the mount itself. The Starlink official service, where available, is typically higher. The variation is mostly roof type, height and how far the cable has to run.
Can I install a Starlink mount myself?
Yes for ground-level and single-storey work if you own a basic drill, a level and a stable ladder. The job is two screws or a pivot bracket, a cable route, and a sealed entry. Roof work on two or more storeys, slate or tile roofs, and steep pitches push it firmly into 'hire it' territory.
What tools do I need for a DIY Starlink mount install?
A drill with the right bit for your roof or wall, a socket or spanner set for the U-bolts, a 4 ft level, a stud finder for indoor cable runs, a silicone or butyl sealant, and a ladder tall enough to reach the mount point safely. Most households already own four of these; the sealants and bits are under $20 at any hardware store.
Is the Starlink Gen 3 mount hard to install?
No - the dish itself is light and the pipe-thread interface is standard. The work is in the surface you fix it to: sealing a roof penetration, finding a stud on a wall, levelling a pole on a tripod. None of those are difficult on their own, but they are unforgiving if skipped.
Does paying for install include the mount?
Usually not. Most installers quote labour only and either supply a mount at markup or expect you to have one. Buying the mount direct from a specialist typically saves $30–$80 over installer-supplied hardware, and the labour quote is the same either way.
Best Starlink Mounts — the roundup
A mount for each of the four surfaces above: tripod for ground, eave for one storey, wall for stud, roof for two-storey. Spec the surface first, the mount picks itself.