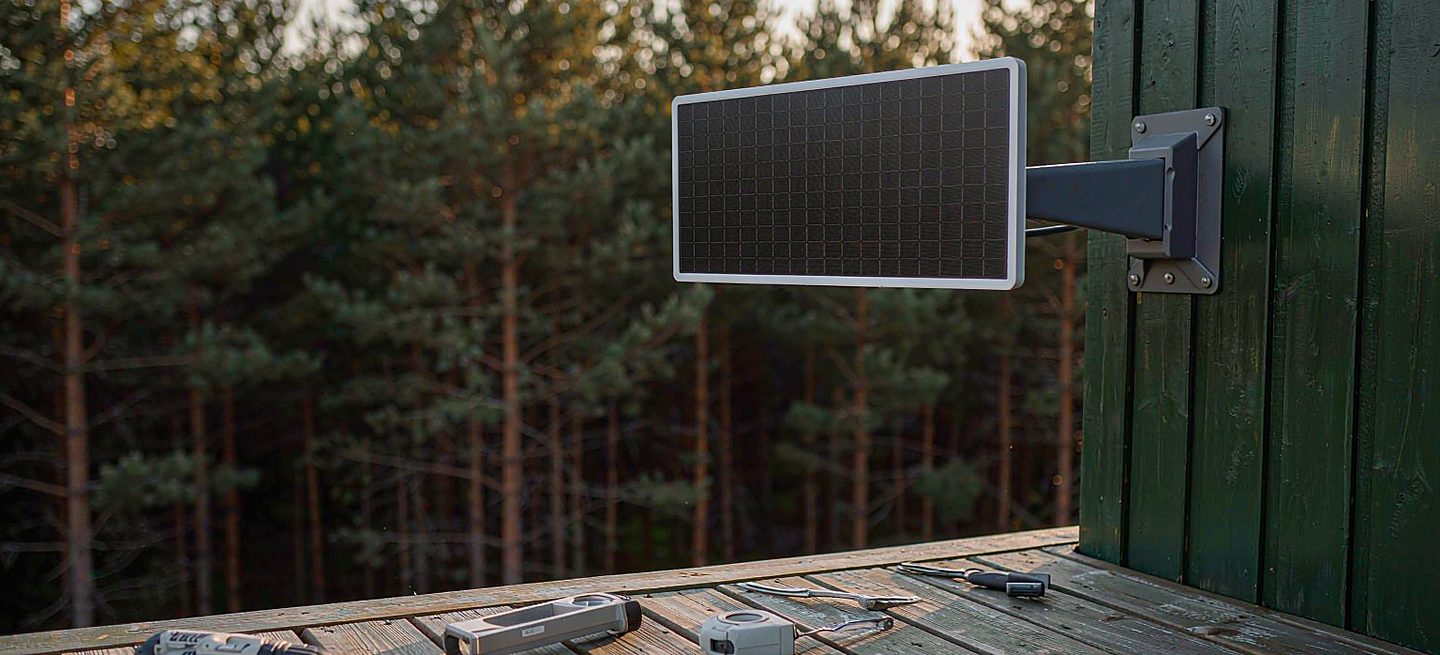
Short version: installing a Starlink mount is a drill-and-level job, not a specialist job. You need a drill, a driver, a spanner for the dish's own thread, a level and a tape measure — most households own all five. The two things genuinely worth buying ahead are fasteners matched to your actual surface and a sealant rated for the penetration, because those are what make the difference between an install that lasts and one that leaks. And the thing you do not need to buy is the official pipe adapter: the dish's 1.5 inch thread meets every mount in our line directly.
This is the shopping list side of the install. For the step-by-step on the roof itself, the roof install guide walks the sequence, and the roof type guide decides which fasteners your covering actually takes.
The core tool list — check your drawer first
| Tool | What it is for | Already own it? |
|---|---|---|
| Cordless drill | Pilot holes and the cable entry bore | Usually yes |
| Bit set: masonry + wood + spade | Brick or concrete anchors, timber fixings, the entry hole | Often yes |
| Socket or spanner set | Lag bolts and the bracket's fixings | Usually yes |
| Large adjustable spanner | Threading the dish onto the mount | Usually yes |
| Screwdrivers (Phillips + flat) | Terminals, clips, small hardware | Yes |
| Spirit level | Getting the bracket plumb and level | Usually yes |
| Tape measure + pencil | Marking the spot before anything is fixed | Yes |
| Ladder (stable, right height) | The only "buy or borrow" on this list | Depends |
That is the whole list for a wall or eave install, and it is nearly the whole list for a roof. The drill matters most: masonry bits for brick or concrete, a spade bit for the cable entry bore, and a driver bit that does not cam out of lag bolt heads. If your only drill is a small 12V one, borrow a mains or 18V unit for the entry hole — a slow spade bit in masonry is how installs go badly.
The two things worth buying ahead
These are the items people discover they need halfway up a ladder, which is exactly where you do not want to discover it.
1. Fasteners matched to your surface. A bracket is only as good as what holds it in. Timber frames take lag bolts; brick and concrete want masonry anchors; a standing-seam metal roof is normally clamped, not screwed; screw-through sheet metal wants sealed screws into the purlin. The roof type guide has the full matching table. Buying a pack of each type you might need costs little and saves the job.
2. A sealant rated for the penetration. If the cable or the bracket goes through the building envelope, you need a proper roof or exterior sealant — not bathroom silicone. A flashing boot over the entry is better still. This is the one step where the cheap option genuinely costs you later, because a leak shows up a season later and points at you. The cable guide covers sealing the entry itself.
The cable entry kit
If you are bringing the cable into the building, add a few small items to the list: a sealed gland or grommet sized to the cable, cable clips or P-clips for the run, and a short protective sleeve where the cable crosses an edge. None of it is expensive and none of it is optional in practice — a round hole around a round cable is never watertight on its own. Drill the entry bore slightly downward toward outside and leave a drip loop below it; both are covered with diagrams in cable management.
What you do NOT need to buy
This is the part that saves people money, and it is short:
No official pipe adapter. The Starlink dish's own mount interface is a 1.5 inch pipe thread, and the roof kit, wall bracket and tripod stand all take that thread directly — the dish screws straight on. The tripod even ships with its adapter in the box. The pipe adapter explainer runs through the one or two situations where an adapter still matters.
No "Starlink-specific" tools. There is no proprietary driver, no alignment jig, no torque spec. The dish aligns itself once it can see the sky — the obstruction check is the alignment tool, and it runs on your phone.
No professional, for most installs. The bracket, dish and cable are within a careful DIYer's range. The one part worth outsourcing is sealing a penetration on a flat, aged or tricky roof — that is a roofer's ten-minute job and a homeowner's weekend if it goes wrong. A tripod stand needs no fixing at all if you would rather skip the question entirely, which is also why it is the answer in the renters guide.
Safety, briefly
Use a ladder rated for your weight plus the kit, set on level ground, with someone aware you are up it. Do not drill into a wall or roof blind — know what is under the surface near the entry point, and never drill near live wiring. If the weather is wet or windy, the install will still be there tomorrow; a slipped drill on a wet roof will not. And measure the view before the hole, not after — choosing the mount starts with the spot, not the hardware.
The checklist, on one screen
| Stage | What you need |
|---|---|
| Before you drill | Phone (obstruction app), tape measure, pencil, spirit level, this guide |
| Fixing the bracket | Drill + correct bits, sockets/spanners, surface-matched fasteners |
| Mounting the dish | Large adjustable spanner (the thread needs no adapter) |
| Cable and entry | Spade bit, gland or grommet, sealant, cable clips, sleeve for edges |
| Finishing | Level for a final check, clips for the run, slack at the router end |
Our line
Our mounts are designed to keep this list short. The roof kit and wall bracket ship with the fixing hardware for common surfaces and take the dish's 1.5 inch thread directly — no adapter purchase, no proprietary tool. The tripod stand removes the drill from the job entirely. Indoors, the router wall mount is a screwdriver-only job that finishes the install properly — see where the Gen 3 router should live for why the last metre matters as much as the first.
FAQ
What tools do I need to install a Starlink mount?
A cordless drill with masonry and wood bits, a socket or spanner set, a large adjustable spanner for the dish thread, screwdrivers, a spirit level, a tape measure and a stable ladder. Most households already own everything except perhaps the right drill bits or the ladder.
Do I need the official Starlink pipe adapter?
No. The dish's own mount interface is a 1.5 inch pipe thread, and the roof kit, wall bracket and tripod stand all accept it directly. The tripod ships with its adapter in the box. An adapter only matters for masts or poles that do not share that thread.
Can I install a Starlink mount myself?
Yes, for most installs. The bracket, dish and cable are a drill-and-level job. The one part worth having a professional do is sealing a penetration on a flat, aged or tricky roof; everything else is straightforward DIY.
What should I buy before install day?
Fasteners matched to your actual surface (masonry anchors, lag bolts, or clamps for metal roofing) and an exterior-rated sealant or flashing boot. Discovering either halfway up a ladder is the classic install-day mistake.
Do I need special tools for a Starlink mount?
No. There are no proprietary drivers or alignment tools - the dish finds the sky itself once it has a clear view. The obstruction app on your phone is the only alignment tool the install needs.
How do I bring the cable into the house?
Through one sealed entry: a gland or grommet in a hole bored slightly downward toward outside, with a drip loop below it. Never through a door or window opening, where closing edges pinch the cable and eventually break the link.
Roof Mount Kit
Takes the dish's 1.5 inch thread directly - no official adapter, no proprietary tool, most of the hardware in the box.