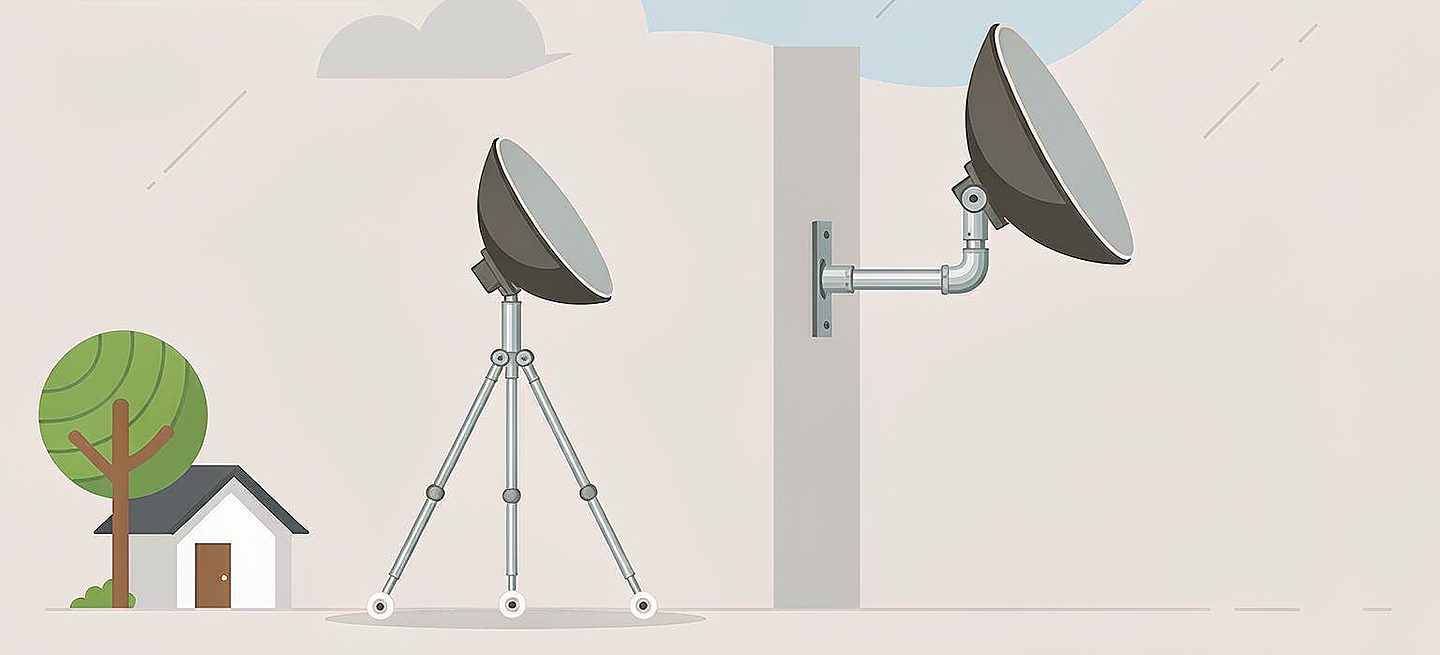
Short version: cheap and premium Starlink mounts are not the same product at different prices — they are different bets. A cheap mount bets that your surface, view and weather are all easy; a premium one bets they are not, and charges for reach, sturdier materials, and a fixing that suits the site. The money goes into three places: how far it gets the dish from the surface, what it is made of, and how it seals. Spend where your site is actually difficult, and a cheap mount is fine everywhere else.
If you have not yet confirmed the view, the obstruction maths decides how much height you need before you pay for it.
Where the money actually goes
| What you pay for | Cheap mount | Premium mount |
|---|---|---|
| Reach from the surface | Short — needs a clear, close view | Longer mast or arm to clear obstacles |
| Materials | Basic, fine in calm sites | Heavier gauge for wind and load |
| Sealing and fixing kit | Minimal | Proper flashing, rated sealant |
| Fit to your surface | One or two options | Bracket for the actual wall or roof |
When a cheap mount is the right call
If the view is already clear from a low spot, you rent and cannot fix anything (renters guide), or you are setting up a tripod on the ground, a basic mount does the job. You are not paying for reach or a roof penetration you do not need — the tripod buyers guide covers that case end to end.
When to spend up
Spend when the site is the problem: a roof penetration that must seal properly (roof install), a wall that needs a specific bracket (wall versus eave), or a view blocked close to the dish that needs real height (the height maths). In those, a cheap part either will not fit or fails first in wind.
The trap
The expensive mistake is not buying the cheap one — it is buying the cheap one for a hard site. A flimsy bracket on a windy roof, or a mount too short to clear a tree, costs more in a failed install than the difference would have. Match the spend to the difficulty.
Our line
We build to the site, not the price: the roof kit for a sealed penetration, the wall bracket to leave the roof alone, and the tripod for no-fix portable use — all on the dish's 1.5 inch thread with no official adapter to buy.
FAQ
Is a cheap Starlink mount worth it?
Yes, when your site is easy — clear view, no need to drill, calm weather. A basic mount does the job and you avoid paying for reach or sealing you do not need.
When should I buy a premium mount?
When the site is the problem: a roof penetration that must seal, a wall needing a specific bracket, or a view blocked close to the dish that needs real height. Cheap parts either will not fit or fail first in wind.
What makes a mount premium?
Usually three things: more reach from the surface, heavier-gauge materials for wind and load, and a proper fixing and sealing kit for the actual roof or wall.
Does a more expensive mount improve the signal?
No — the mount does not affect the signal, only the position and stability. A premium mount helps if it gets the dish higher or holds it steadier; if the view is already clear, the extra spend does not buy speed.
Do I still need the official adapter on a premium mount?
No. Quality mounts, including ours, take the dish's 1.5 inch thread directly, so no separate official adapter has to be bought regardless of price tier.
Starlink Mounts
Pick the mount that fits the site — roof, wall or freestanding — all on the dish's 1.5 inch thread.